Welcome to my blog!

Thanks for visiting my blog. As the title suggests, I love to scrapbook, stamp, and sing! I will share cards and scrapbook pages I create, as well as information about my music - Barbershop harmony.

Monday, June 25, 2018

Merry Monday #296 - Rustic

Hi everyone - Nina hosts Challenge #296 to create a rustic Christmas card this week at Merry Monday. Watch for a big announcement at the end of this post!


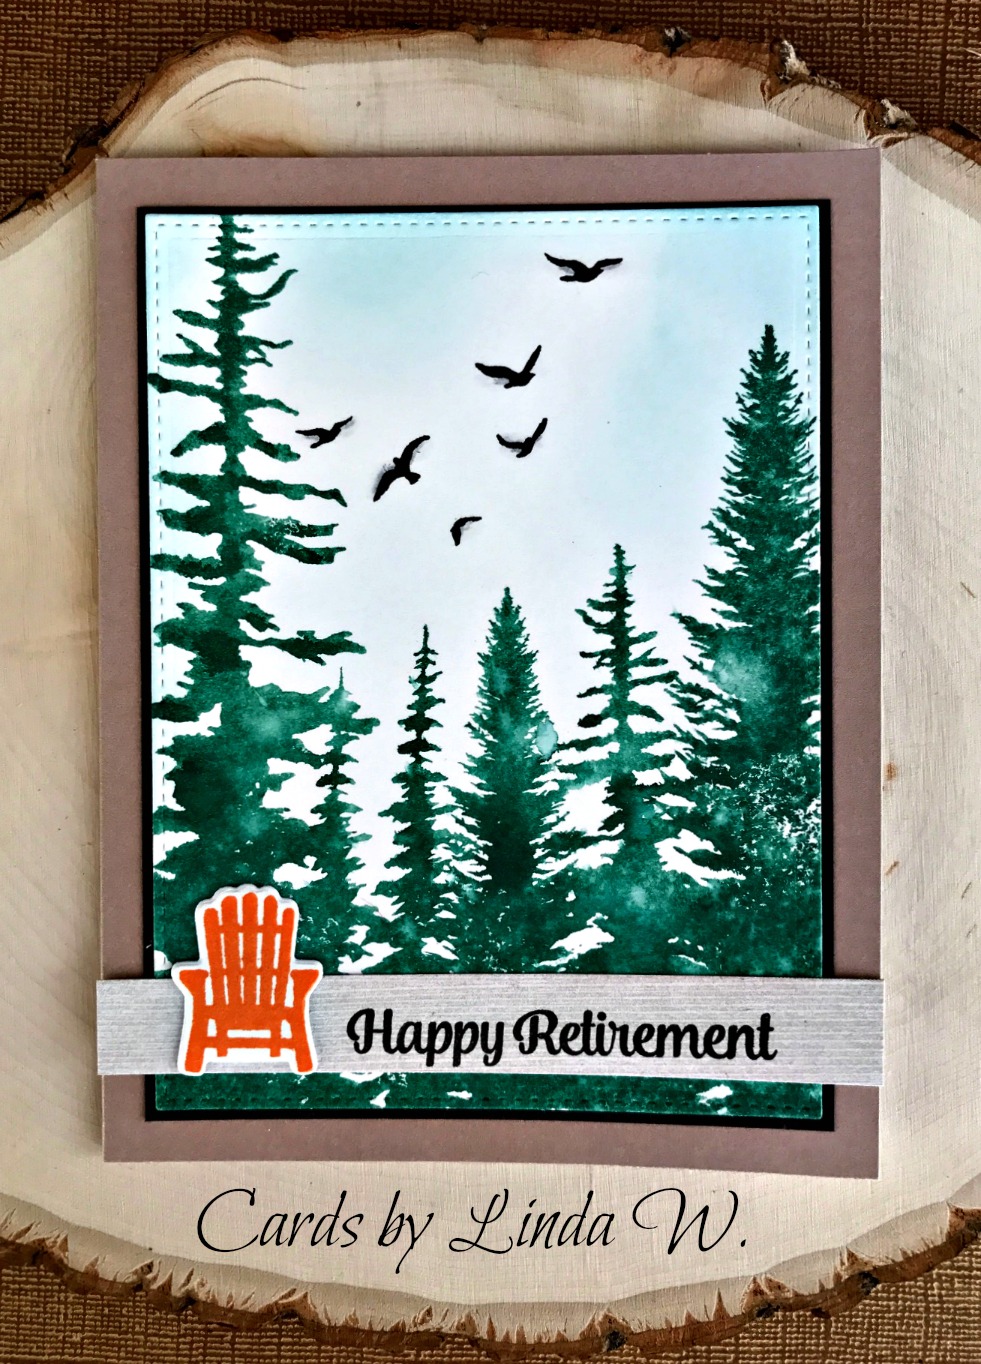
I went with the "countryside" definition of rustic and created a snowy scene with some deer and trees atop a mat of what I consider a rustic patterned paper with lots of wood planks. Here's my card:

Supplies: Paper - Neenah Classic Crest Solar White
BoBunny Altitude and Merry & Bright 6x6 pads; 
DCWV A2 card; scrap of wood plank paper (for the star)
Dies - Tim Holtz Winter Wonderland
My Favorite Things Die-Namics Blueprints 20 
and some other set for the star button (both retired) 
Lawn Fawn Forest Border
Other - ultra thin foam squares); C03 Copic Marker; Icy Stickles
Memento Tuxedo Black ink; May Arts string twine

I covered an A2 card with a piece from the BoBunny Altitude paper. Next I die cut the deer trio from a piece of the Merry & Bright paper. The die set also includes the snowy sky so I cut it into a piece of white card which I then cut with a stitched rectangle. I cut another piece of white with the tree border and then cut it with the same rectangle die and layered. Shaded a bit with a Copic, then stamped the sentiment and adhered the deer (some ultra thin foam used). Stickles may not be rustic but I couldn't resist adding them to my row of trees. I die cut several of the star buttons (from a retired Blueprints set, not sure which one) from brown card, layered them and then topped with one cut from wood plank paper. Threaded with string twine & adhered with a glue dot - done!

Be sure to check out all the rustic goodness by the Design Team, plus challenge details HERE!

And now for the BIG Announcement: Originally, the Merry Makers were only taking a summer break for July and August. Lesley, the challenge creator, has decided to close the challenge as soon as this week's winners are announced. So, this is my LAST Merry Monday post. Boo Hoo!! Sad news and I will miss creating with the talented Design Team that has included me as a guest since the 9/4/17 post. Thanks to Lesley and Lori and all the rest for the opportunity!! Before being on the DT, I'd played at Merry Monday since January 2015 and have met so many wonderful crafters as a result. I'm sure I'll be checking in at their blogs as much as I can.

Thanks for stopping by and for your interest in Merry Monday! I'll be out there playing in other Christmas card challenges, such as CAS Christmas, since I can't seem to get my cards made without them! Hope to see you in Blogland - cheers!!

Monday, June 18, 2018

Merry Monday #295 - Inspiration Photo

Merry Monday everyone! This week Marcia hosts Challenge #295 with a yummy inspiration photo.


Supplies: Paper - Neenah Classic Crest Solar White; Poptone Black Licorice;
Michael's green; Studio Calico Magical; 
Teresa Collins Santa's List; My Mind's Eye On the Bright Side
Stamps - Art C Mason Jar Stamp and Die; Taylored Expressions Many Minis - Holiday
Dies - Hero Arts Nesting Circle Infinity Dies; Our Daily Bread Mini Tags
Impression Obsession Pine Branch
Other - Copic Markers; foam tape; May Arts ribbon and string twine

Went a bit too literal but definitely wanted to do a jar with peppermints. Then the wood plank background drew me although I went with a different type of wood. I have several jar stamps with dies but bought a new one on a BOGO sale at Michael's. This set has a cute label with an embossing layer but instead I went with a little tag for my sentiment. Couldn't cover up all my peppermints now, could I?! I included the piece of peppermint paper to show I die cut them right from the paper, using a slightly smaller circle to better fit in my jar. So fun and easy.

What draws you in the inspiration photo? Can't wait to see your creation! Please head over to Merry Monday to check all the challenge details and fabulous inspiration from the Design Team. Thanks for stopping by!

Sunday, June 17, 2018

Twofer Trees, plus Father's Day

Hey everyone - Happy Father's Day!! I had some time to create cards for this month's Twofer Card Challenge - yay! I'm doing really well at participating in this fun challenge. This time the team is looking for cards with trees. Remember, the duo has to use the same stamp and be for two different occasions.


I had a little shopping spree traveling between my house and my parents' house last week. I spotted a fabulous pine tree stamp and immediately had several ideas for it. Here's my twofer:

Supplies: Paper - Neenah Classic Crest Solar White & Poptone Black Licorice
Momenta Marbled Pastels
Stamps - Impression Obsession Pine Trees Cover-a-Card
Hero Arts June 2018 My Monthly Hero Kit - sold out (birds and sympathy sentiment); 
Paper Smooches All Year Cheer (birthday sentiment)
Dies - Tim Holtz butterflies; MFT Blueprints 13 and  20 (retired)
Other - Michael's gems; various Hero Arts & Distress inks, white EP

You can probably tell I masked off the rest of the stamp and just used the left portion to stamp my rainbow colors on the birthday card. I messed up a bit and didn't get the bottom as solid as I wanted, oh well. I still like how it turn out. I flipped the panel and stamped them coming from the other direction & then filled in between the colors (since stamped on white card) by sponging coordinating colors. I used the full stamp on the sympathy card (5.5 square).

And now for a threefer! When I started working with the tree stamp, I stamped this panel first. It had a tiny stain on the white so I went to the marbled blue paper to try again. After I stamped the birds in flight on that paper, I decided they would cover up the tiny stain on the original panel. It worked! So I thought a bit and decided to make a retirement card owed to my cousin. The little Adirondack chair from this month's MMH kit looked so cute and relaxing to me.


Finally, here are my two Father's Day cards for this year. One at left for Dad and one at right for an uncle by marriage who's been so dear to me. If you're celebrating with your family, as I will, have a wonderful day!!

Supplies:  Paper - DCWV A2 cards; Authentique Pride C and 
Basic Grey Kelly Purkey Second City
Dies - MFT stitched rectangles and arrow; 
Hero Arts Nesting Hearts Infinity Dies
Cottage Cutz Hot Cocoa Cafe (steam coming from cup)
Stamps - Hero Arts CL498 Celebrate Everyday
CL335 Happy Day's Day - retired
Other - Copic Markers; Joy ultra thin foam tape

Thanks for stopping! I hope you'll check back tomorrow for another Merry Monday challenge!!

Saturday, June 16, 2018

One Last Masculine CAS

Back today with one last masculine card for this month's CAS Christmas Card Challenge which runs until June 24th.


I started this card first when I read the challenge details on June 3rd. Then I got sidetracked by other things (a leadership workshop, a grad party, a picnic, my sisters arriving from AZ for a visit, & a few other cards). Finally got a chance to finish it - yay!

Supplies: Paper - Neenah Classic Crest Solar White and Poptone Black Licorice
Die - Lawn Fawn Tiny Tags
Silhouette Design - Reindeer by Hero Arts
Stamps - Hero Arts CG466 Be Jolly (retired) and CM100 Christmas Messages
Embossing Folder - Tim Holtz Birch Trees 
Other - May Arts string twine; 
Tim Holtz Brushed Pewter Distress Stain and Pumice Stone & Black Soot ink;
Ranger Embossing Ink and silver EP

While watching TV and reading the challenge (I love to multitask), I glanced over at the Silhouette and spotted a bunch of cuts I made a few weeks ago. I like to cut a whole page of stuff on white cardstock and then color it when I have a chance. This reindeer image called to me so I colored him with Distress Stain. Once dry, I overstamped with a text & edged him a bit with ink. Thought he'd look great on the embossed birches with a sentiment star tag around his neck.

What a fun challenge - so glad I was able to play along! Hope to see you in the gallery too and thanks for stopping!!

Friday, June 15, 2018

Another Masculine Christmas Card

Hi all - back with another card for the June CAS Christmas Card Challenge. I was inspired by the stag cards created by DT member Hideko & by friends Barb and Betty in the gallery.


I had a package of die cut stag heads from Michael's - 70% off after last Christmas!! There were silver and gold ones in the package and I chose to use silver. I edged the die cut with a black marker and also distressed it to mute the glitter.

Supplies: Paper - Neenah Classic Crest Solar White
Stamps - Hero Arts CL983 Holiday Messages and Tags & 
CL474 Special Wishes (retired)
Dies - Spellbinders Ribbon Banners
Inks - Tim Holtz Distress Inks - Cracked Pistachio, Pine Needles, Black Soot
Other - Michael's Recollections Stag die cuts; 
Copic Markers C1 & C3; White Enamel Accents

I formed a top-fold A2 card and stamped the wreath twice, flipping it for the second color. I glued the stag to the center and added the banner (shaded with some Copics). After all this work, I noted a few flaws in the white card stock - don't you hate that?! Tiny brown specks - ugh. I dotted them with a gel pen but it didn't work so I covered them with enamel accents. Then added a few more - very hard to see in the photo but there are a few to upper left & lower right of the wreath. Done!

Funny story - after I used adhesive to adhere the stag head, I realized it had a peel off backing! So I had to carefully peel it off the card, remove the backing and re-stick it! I wondered why it kept lifting - well, it was the die cut coming away from the sticker backing. I give up.... Anyway, I'll have one more masculine Christmas card to share tomorrow so I hope you'll stop by to check it out! Thanks for visiting!!


Thursday, June 14, 2018

Masculine Christmas Card

Hi all - over at CAS Christmas Card Challenge they're making masculine Christmas cards for the June challenge. I always need a few masculine Christmas cards so decided to get busy and play along.


While working on another card, I went through my UFO drawer & found this cute car with Christmas tree I colored a while back. I decided a car could be considered masculine, especially since it had a tree on the top. Don't know about you but I couldn't get a tree onto my car!! Here's my card:

Supplies: Paper - Neenah Classic Crest Solar White; scrap strip of black
Stamps - Hero Arts Car w/Tree (retired) and CL983 Holiday Messages and Tags
Other - Copics; white gel pen; Glossy Accents; Joy ultra thin foam

I used a black strip as the road and made my sentiment into part of the car's exhaust. Very simple and could even be made into a one layer if you wanted to stamp & color directly on the card (I don't usually). Fussy cutting the car took the most time as this image didn't come with a matching die.

Thanks to the CAS Christmas team for a fun challenge and all the inspiration. I have made a few more cards I'll be blogging in the coming days. Thanks for stopping!

Monday, June 11, 2018

Merry Monday #294 - Barns

Hey all - we're heading to the countryside for Leanne's challenge at Merry Monday! For Challenge #294 she wants a barn on our Christmas card.


I had absolutely nothing in my stash with a barn, not even a scrap of patterned paper, nor Silhouette design. Great excuse to shop, right?! I started looking locally and found some kid style farm stickers which I bought - just in case... My Silhouette software needs updating & I can't get into the online store right now - no luck there. So off I went to shop online. Coincidentally, The Scrapping Cottage had a 50% off sale - oh my! I bought two different barn dies and a stamp & cut farm set - all adorable. Rather an unusual barn, but I started with the Reindeer Barn - Santa needs a grand residence for Rudolph, right? Just love this one!!

Supplies: Paper - Neenah Classic Crest Solar White; Bazzill brown; 
Lawn Fawn Let's Bokeh in the Snow
Dies - Lawn Fawn Stitched Hillside Borders
The Scrapping Cottage Reindeer Barn Cottage Cutz
Stamps - Hero Arts October 2017 My Monthly Hero (sentiment) & DI038 Christmas Tree Set (retired)
Impression Obsession Cover-a-Card Wooden Plank
Other - Joy Ultra-thin foam tape; Copic Markers; Paper Studio gemstones;
Tea Dye Distress Ink & Fired Brick Distress Oxide Ink; Distress Markers

This little scene was a lot of work but so much fun! I started by die cutting the entire barn set in white. Then I colored all the non-white pieces with Copic Markers and assembled the barn. I placed it in snowbank layers and added a stamped tree behind - I colored the stamp with Distress Markers to stamp it. Here's a side view:


Popped some elements with ultra-thin foam tape & maybe you can see the dimension a bit better in this view. I really love the thin foam but it can be very hard to handle since it's so teeny! Couldn't resist sharing a couple of photos taken during my process:


Please tell me I'm not the only one who crafts in every odd spot possible! In the top photo I'm on the kitchen counter with some of my pieces, the die, and the packaging - all atop a magazine and some outgoing mail. Then I'm on the stove top (no, it wasn't hot - LOL) coloring the pieces while sipping a coffee! The counter on the other side of the stove was piled with stamp sets I've recently used so I couldn't color there - sigh... We won't talk about the counters on the other side of the kitchen or the kitchen table, also full of stuff. Really should clean up so we can eat in there!

If you're still with me, I have a two-fer! I was talking to my friend Heather who called me all the way from Ireland yesterday! Just love chatting with her and 90 minutes went quickly - thanks for the call, Heather!! Afterward I had a small window before I went to sing (with a bunch from chorus) for one of our housebound members (it went great). Spotted a barn I had die cut from another Scrapping Cottage item I bought with the Reindeer Barn. I had an idea to cut out these cute little pigs from a piece of patterned paper but do you think I could find it?! Well, I spotted an extra Silhouette cut from THIS CARD and decided to use part of the cow. I also had a bit of snowflake paper left from last week's Merry Monday angel card. The card came together quickly!

Supplies: Paper - DCWV neutral A2 card; Poptone Black Licorice;
Neenah Classic Crest Solar White; BoBunny Snowfall
Silhouette digi cut - Design ID 207545 Welcome to the Farm
Dies - The Scrapping Cottage Barn Cottage Cutz;
My Favorite Things Blueprints 20 (retired)
Stamps - Hero Arts Holiday Sayings (retired) & Kelly's Outline Letters
Other - foam tape; Jolee's Santa Hat Repeats; Candied Apple Distress Marker

What do you think of the puny sentiment? I showed the photo to a chorus friend and she thought it said moody - oops, maybe I should have put a dash instead of the third O....  ha, ha. Anyway, I'll try to share some more barn cards now that I'm well supplied with barn stuff! Meanwhile, be sure to check out all the challenge details and amazing Design Team cards HERE. Thanks for stopping!!


Monday, June 4, 2018

Merry Monday #293 - Angels

Merry Monday to you and welcome to Challenge #293! Linda would like to see an angel on your Christmas card this week.


Supplies: Paper - Michael's snowflake printed A2 card; BoBunny Snowfall;
Carta Bella So This is Christmas; Tim Holtz Metallic kraft; Paper Studio brown
Die - My Favorite Things Die-Namics JOY
Other - Hero Arts sequins; Paper Studio Angel sticker; Tea Dye Distress Ink

I love angels but I don't have much angel stuff in my stash. This lead me to shopping at Hobby Lobby where I found some pretty angel stickers. The package has three different layered angel labels with loads of gold foil but not really Christmas-y. No worries - I chose one with blue to coordinate with some pretty BoBunny snowflake paper. The browns in the paper paired with a brown music paper looked so pretty with the angel. I cut a brown JOY to layer as a shadow behind a JOY cut from two layers of gold foil. The angel sticker came with several layers of foam tape - I carefully peeled off the back layer since I thought it was too thick. A few sequins and done!

I think my neighbor Brenda will end up with this card - she adores angels! Can't wait to see your angel creation!! Be sure to check out all the challenge details and link-up HERE, as well as amazing inspiration from the rest of the Design Team! Thanks for stopping!!