Supplies: Paper - Neenah Solar White card stock (card base), Tim Holtz watercolor paper, Anchor Paper black card stock, the Paper Studio Christmas glitter paper, woodgrain parchment from the August 2016 My Monthly Hero kit
Inks - Distress Inks Tumbled Glass, Weathered Wood, Faded Jeans, Twisted Citron, & Picket Fence;
Ranger Archival - Wendy Vecchi's Watering Can
Distress Markers - Shaded Lilac, Wilted Violet, Salty Ocean, Twisted Citron, Antique Linen, Mustard Seed, Fossilized Amber, Frayed Burlap, Spun Sugar, Tattered Rose
Stamps - August 2016 My Monthly Hero (fairy), CM106 Shakespearean Poetry (sentiment)
Dies - August 2016 My Monthly Hero (fairy and birch tree border), Hero Arts DI320 Floral Border with Frame Fancy Die
Stencil - Hero Arts SA082 Dreamy Nights
Other - Ranger clear embossing powder; May Arts ribbon, Stickles; Hero Arts gems; foam tape
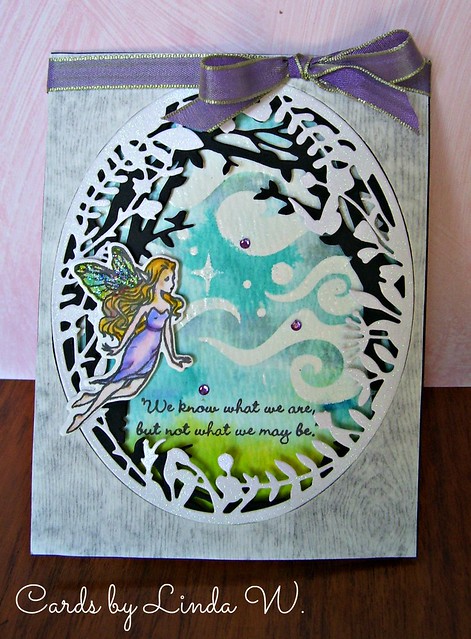
I stenciled the Dreamy Nights with Picket Fence Distress Ink onto watercolor paper and clear embossed it. I sponged various Distress Inks on the panel and misted with water to blend. Once dry, I stamped the sentiment from one of the add-on clear sets. I adhered the panel to the card base and added the black layer with foam tape (die cut with the border die from the kit). Then I die cut the floral border with frame with the glitter paper and adhered it over the black border. I didn't like the black card left around this frame so I added the woodgrain parchment cut with just the frame.I stamped and watercolored the fairy, then die cut it with the matching die once dry. I popped it onto the card with foam tape and then added the Stickles that came in the kit. A few gems and the ribbon - done!
Then I got a chorus email that we would honor a member battling cancer that evening. I didn't have much time but managed to make another quick card with the kit. So here's card 2:
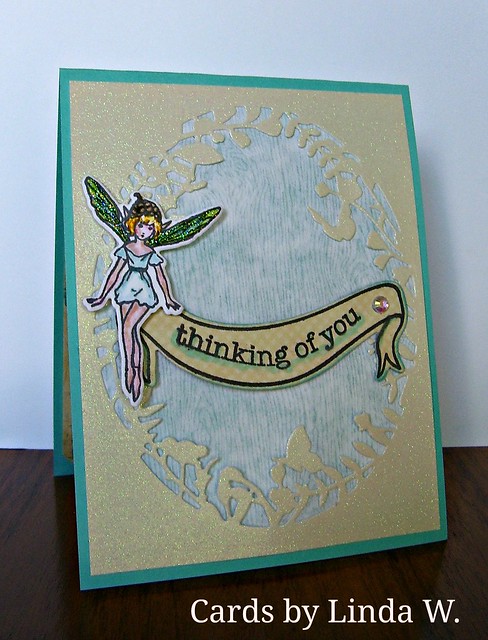
I die cut the Floral border from a piece of ivory glitter paper and laid it over the card base. It looked fine, in fact I made another card this way (can't share yet since it's in route to the recipient). But I remembered the oval parchment left from the previous card and decided to try it behind the die. It softened the teal of the card base and I really liked the look. Fairy was stamped and die cut with the matching die, then watercolored (only different markers were Tumbled Glass and Mermaid Lagoon on her dress). The banner is from Lawn Fawn and the sentiment is from an old Hero Arts clear set. The gem came with the kit.
Thanks for stopping to peek at my first cards with this fabulous kit and add-ons. If you didn't get one, I'm sorry since it sold out quickly. I made another couple cards, one with a fairy and another without; I can see myself making many more cards with these supplies.
6 comments:
Linda two very beautiful cards. I bet your friend will love getting her card & hopefully it will help to cheer her up.
Beautiful cards Linda.
These are beautiful !
your cards are wonderful Linda especially the 2nd one!
I never buy kits, but can see that you've made a great investment, Linda! Beautiful cards!
They are beautiful! Love how your use this kit!
Post a Comment