Supplies: Paper - Neenah Solar White;
Park Lane A2 card; Recollections yellow;
Lawn Fawn Watercolor Wishes Petite
Stamps - Hero Arts Togetherness Flower Bouquet
Dies - Hero Arts Secret Garden Fancy Die
Other - Recollections Gemstone shaker mix;
Kat Scrappiness A2 Full Front Shaker Card Pockets
Our fabulous sponsor is Hero Arts, an inspiration to the crafting community! They've donated a $25 credit to their online store for our randomly drawn challenge winner - thanks Hero Arts!!

I die cut the cover plate, including the free standing flowers in the center. Took an A2 purple panel from LF's Watercolor Wishes and formed the shaker pouch with a mix from Michael's. Adhered the cover plate and the other flowers over top, then glued to an A2 card. Stamped and fussy cut a sentiment then added to the card with foam tape. Glued some of the shaker mix gemstones to the flower centers for some extra interest - done!
Ready for a bonus? This time I've watercolored a gorgeous cover plate & made a shaker!

Supplies: Paper - TH Distress Watercolor; Neenah Solar White;
Park Lane A2 card; Poptone Blue Raspberry;
Lawn Fawn Rainbow Ever After Petite
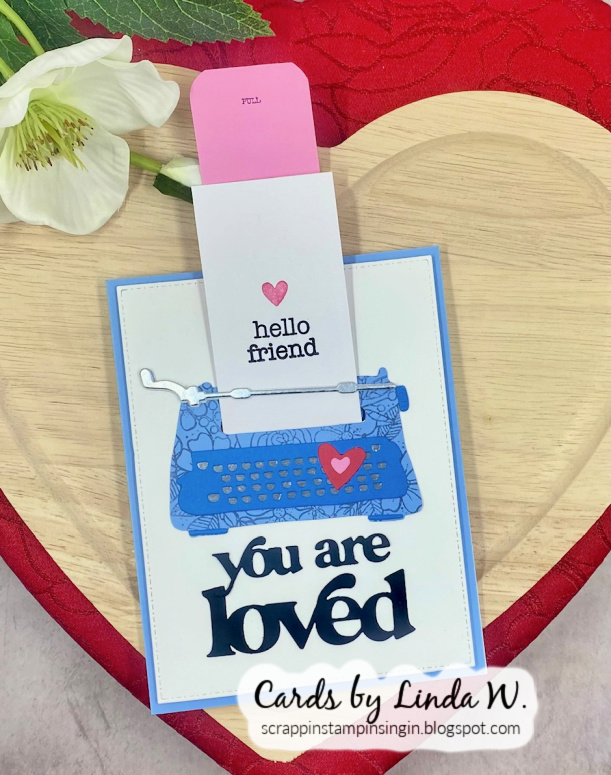
Stamps w/Dies - Hero Arts Message Strips Stamp & Cut XL
Dies - Hero Arts Birds and Flowers Cover Plate &
Other - Hero Arts Liquid Watercolors & reinkers;
Distress reinkers; Recollections shaker mix;
Kat Scrappiness A2 Full Front Shaker Card Pockets;
Hero Arts White Iridescent Shimmer Mist
The process was same as for card one, except on the bonus I used watercolor paper & painted the scene with various liquids. Once dry I gave it a liberal overall spritz with shimmer mist - so pretty in real life!!
I'll add card one to Darnell's February NBUS Challenge #71 since the flower cover plate is getting first play here. I'll add the bonus card to the February Stay Crafty with a Blog Named Hero Challenge where they're doing floral projects.
Thanks for visiting and we hope to see you in the February Diva gallery by 9pm Pacific time today!!